
It doesn’t matter how small the crack on your rim is, the rim will no longer hold air. It is annoying and you may start wondering what could be the possible solutions. Opting for a replacement can be the best way to go, but what if you don’t have enough capital?
Don’t worry anymore because we are here to offer alternative solutions. JB welding the cracked rim can really help you fix the problem. Failure to do so may result in air leaks that can end up destroying the mood. Our article is here to help you fix the issue until you get a permanent solution.
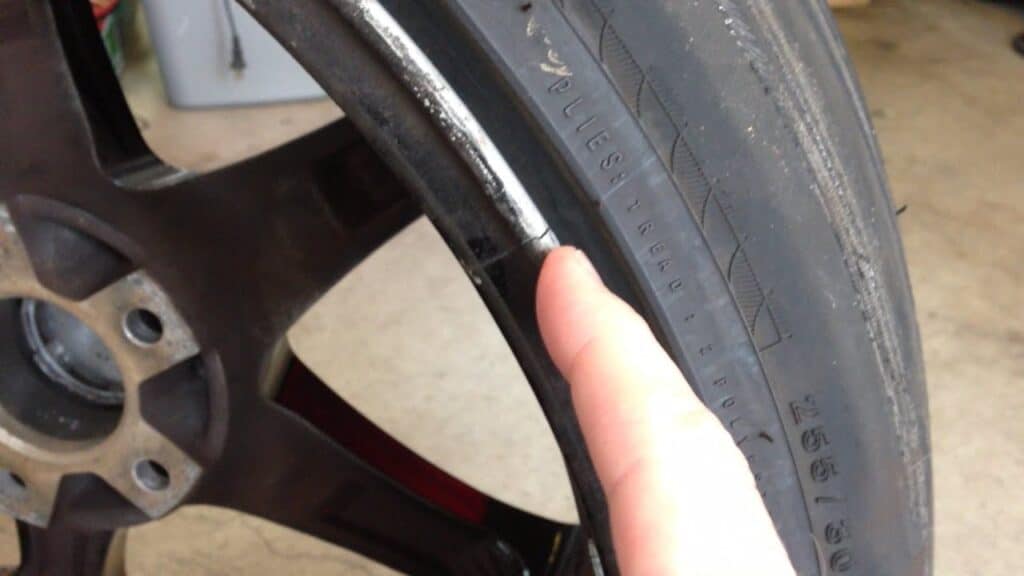
The crack becomes structural when the rim fails to hold air. In such situations, just know that there is something wrong on the bead hook, or material. The rim therefore finds it difficult to seal against the tire bead.
Contents
Fix a cracked Rim with JB weld (Ultimate guide)
There are some useful tools and materials that you can’t afford to miss before you do anything. These items are the one to determine how easy and quick the process will be. The most essential is JB weld, hairdryer, and wire brush.
Since you have decided to handle the issue yourself, below are some useful steps to follow;
Step #1: Parking your vehicle
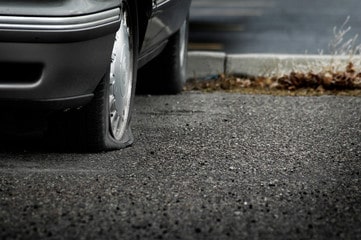
Can you work on the rim of your car while moving or station on an unbalanced surface? Not really, you should therefore park the car on a smooth/flat surface for convenience. It should be stationed in a good position, which will allow you to easily access the cracked rim.
Power off the engine and apply the parking brake to halt unnecessary movements.
If you are not sure what you intend to do, it is better to render the job to an experienced fellow. If not, let’s continue with our journey; I will drive you down the destination.
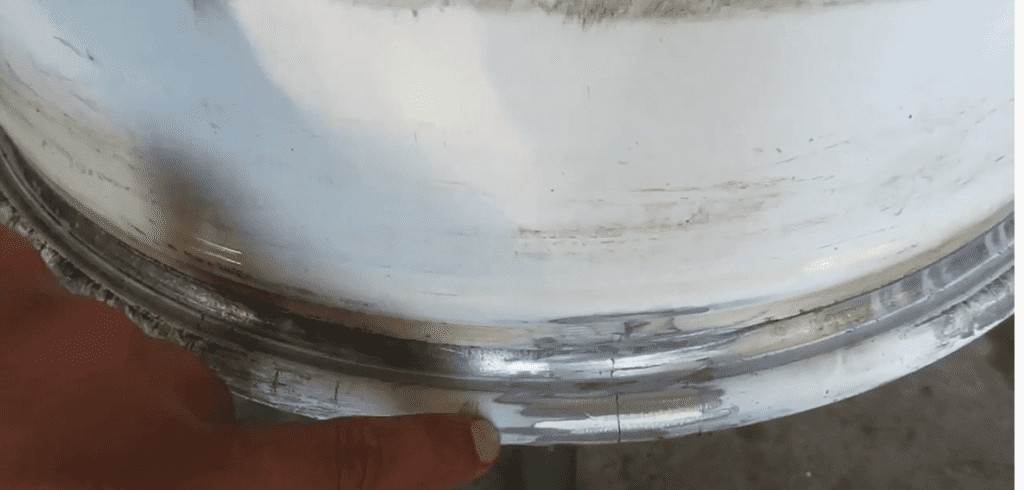
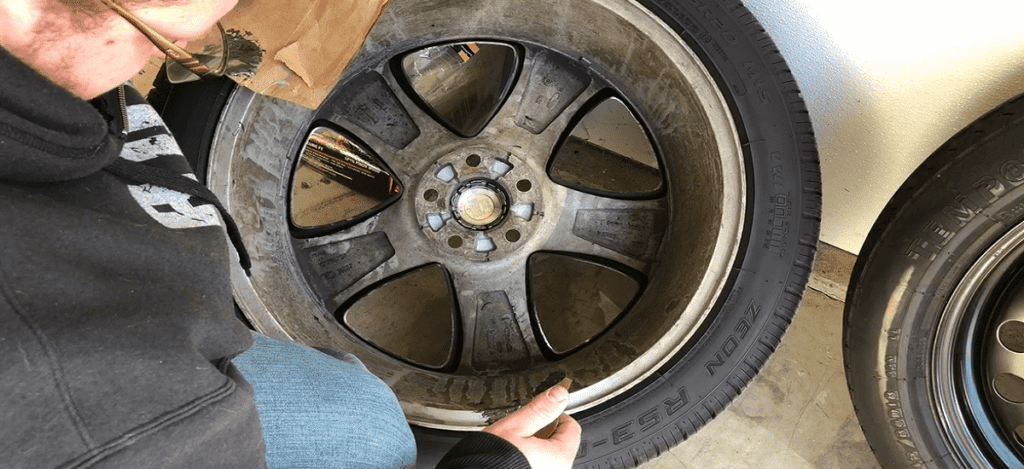
Step #2: Locating the crack
We have some cracks that you can easily spot even with your bare eyes. However, it’s always advisable to remove the Rim from the wheel and then dismantle it for better workability. After finding the cracked area, don’t hesitate to seek the help of the wire brush and work on the area.
While brushing, you should make sure the brushing covers an extra inch or two inches from the cracked place. You should make sure there is a one-to-two inch cleaned area around the problematic area.
Step #3: Clearing brushed substances
I don’t know what tool you have at hand, but you are requested to get rid of dust, paint, or rust from the brushed place. Remember, your mission should be to make sure the brushed surface doesn’t contain dust, rust, or paint to ruin the healing solution.
Now that you have cleared the brushed objects, wipe clean the surface before applying rubbing alcohol on the clean rag. Remember to wipe down the whole place, plus the cracked one.
It is necessary and you should avoid advancing to the next step; allow the alcohol substance to work on the area. The treated area should also be dry.
Step #4: Prepare the Epoxy
Look where the JB Weld is and grasp it. Remove the hardener tube and remember to remove the resin tube too. Working under this step is easy as you only have to turn the empty box over before squeezing the resin tube halfway in the box.
The next thing will be squirting the hardener tube halfway on the resin tube.
Use a stir stick to stir the resin and hardener together until the epoxy mixture achieves even color. Therefore, you should stir the mixture thoroughly to avoid ending up unreliable results. After your mixture is evenly mixed, it’s now time to advance to step 5.
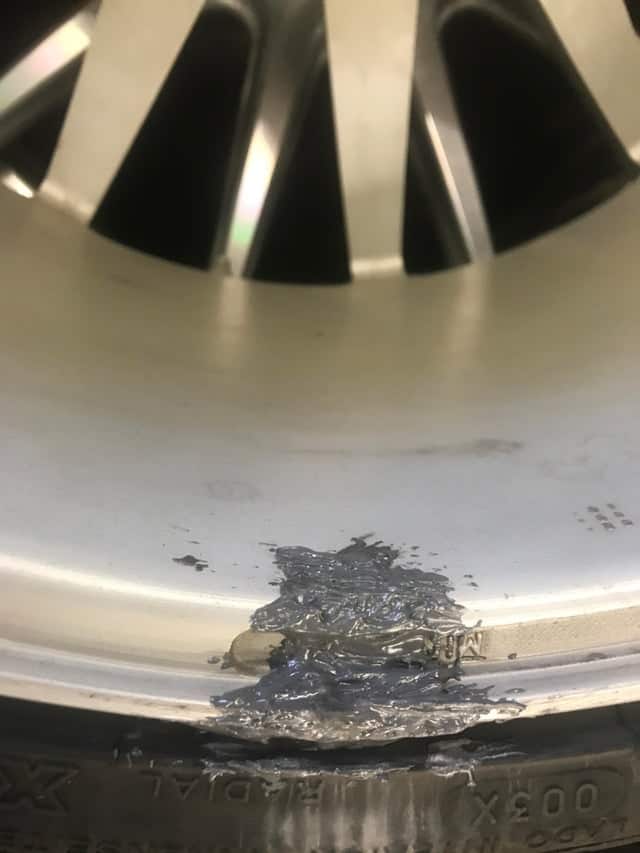
Step #5: Apply the mixture
Your epoxy mixture is ready; your next action will be to smear it on the cracked surface. Under this step, you are advised to use a flat scraper and slip it beneath the epoxy and apply it over the crack first. Release the epoxy by forcing down the scrapper over the crack.
Under this step, you should not forget to begin with the cracked area on your rim. Apply the epoxy mixture on the surroundings. On the remaining one inch-to-two-inch surrounds, apply the available mixed epoxy.
The surfaces close to the cracked space should be coated with this mixed epoxy completely for stunning results.
Step #6: Dry the treated surface
Some DIYers neglect this step and end up with poor results. Therefore, you should learn to dry whatever place you have treated.
Thank God it is nature that carries out the drying process for you. What I mean is that you should leave it overnight; your cracked rim will be completely dry and the epoxy would have developed a robust bond.
What you want to be sure is that the treated area is fully hardened. I don’t see the need for you to hurry using your car; if you are not careful, all your efforts might be in vain.
Step #7: Fixing back the rim to the wheel
After you are comfortable with the hardened area, there’s nothing left but fix back the rim to the wheel of your car. Apply the vice versa procedure of rim removable.
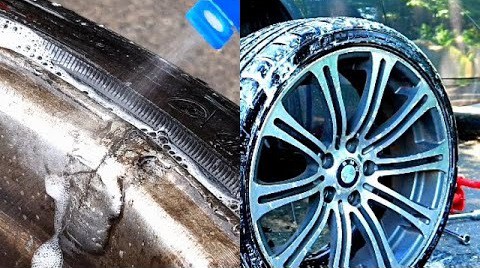
Step #8: Final inspection
After fixing the rim back, it’s time to test the success of your effort. The trick is very simple as you only have to check the hardened epoxy and ensure it holds air.
You are also advised to cover some distances for further observation. After you are sure of protection, count yourself lucky but remember to opt for a permanent solution which involves replacing the rim once and for all.
You might be interested to read our another comprehensive articles of:
Fixing A Cracked Block With JB Weld
Fix Leaking Solvent Weld Joint Quickly
FAQs:
- Can I solder a cracked rim?
Before you choose soldering as the best option for fixing a cracked rim, consider crack location. We have inboard and back side cracks which are marginally safe for soldering. You can weld these parts because they can open up to accommodate the weld.
- Can I really repair a cracked rim?
Mostly, these parts of the car do not accept repair and you might end up replacing the whole wheel. If the crack size is small, you can JB weld the rim, but if it’s huge, then the best way to go is the replacement. You can easily repair bent rims, but when it comes to cracks, it’s hectic.
- I want JB to weld my cracked rim. Is it safe?
There are various cracks on a rim that are easy to repair while others are challenging. The most known for easy fix are the inboard and back cracks while problematic ones are the ones in the front or the barrel. You are therefore not allowed to weld such cracks.
- How much should I have to JB weld a cracked rim?
Cracked or gouged alloy wheels must be replaced with immediate effect and this could stretch up to $400. The cost is a bit high because it also includes re-plating and repairing.
Final words
You need to understand that any rim crack is structural, meaning that you have to worry about the crack. If you are lucky to spot the problematic surface, our article has taught you what to do. JB welding is temporal, meaning that you should not take it for permanent.