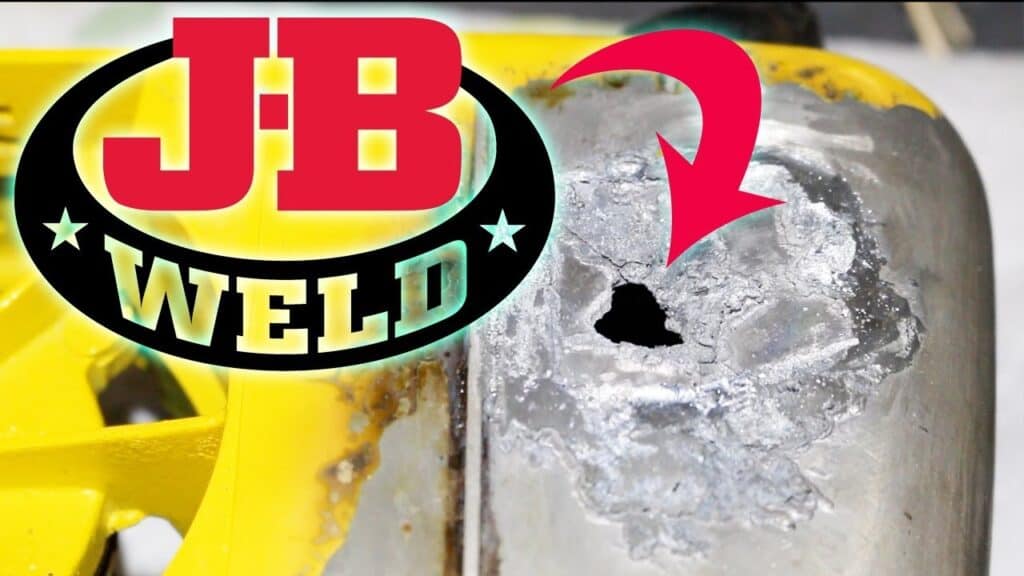
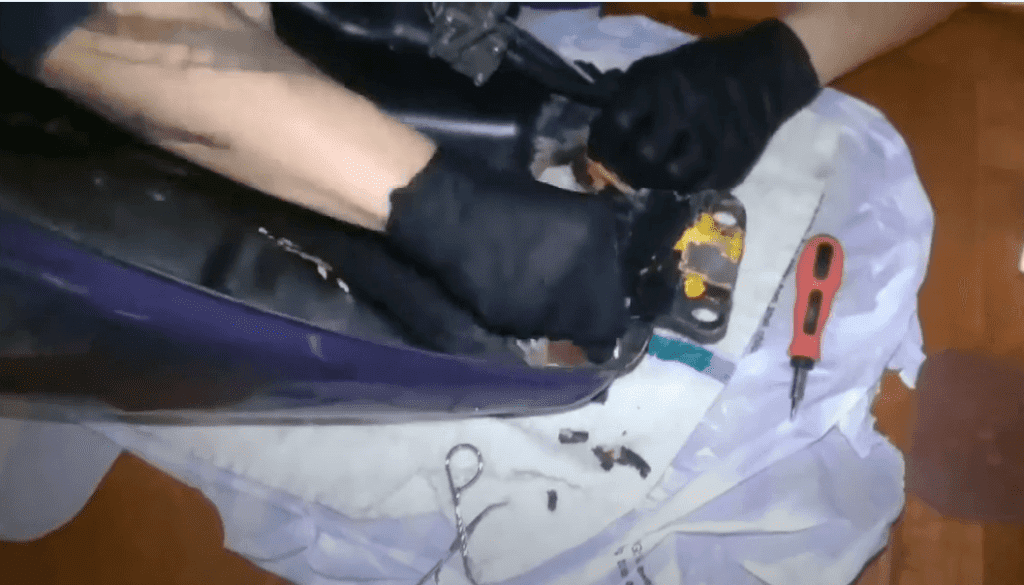
Having a leaky gas tank can put you into several challenges that can hinder the normal performance of the car. If you don’t want to replace or are unable to solder your gas tank, I can recommend JB Welding. Opting for this option is not only cheap, but also reliable.
If you have a leaky gas tank, then you should choose our article. Go through this report because it contains a lot of useful information for you. Your repair process will be straightforward with the help of essential tools and also the steps are straightforward to initiate.
Are you eager to know what is in our report? Well, we have engaged in in-depth research to offer you with reliable knowledge on fixing gas tanks with JB weld.
The guide should direct you to fix a leaky gas tank and never regret this issue anymore. What you should do is give our article the first choice.
Contents
Ultimate guide on fixing gas tank with JB weld

To seal a leak in your gas tank, below are simple steps to follow;
Step 1: Assembling necessary materials
Before kicking off any process, it’s always advisable to collect essentials. For our case, some of the tools that you should have at hand are the marker or the pencil, JB weld, sandpaper, rubbing alcohol, and a utility knife. With these items in hand, believe you are ready to kick off the healing process.
Step 2: Inspecting the leak
After confirming you have necessary materials and tools, the next step should involve searching for the leak. You can easily spot the leak since most of them are visible. Now after knowing where the leak is, take your pencil and mark the place. While marking, you should consider extending the marks to cover a reasonable surface to be JB Welded.
Step 3: Cleaning the marked area

With the help of your sandpaper, clean the marked area thoroughly. The essence of cleaning the area is usually to remove the paint, rust or dust. Sanding should fully cover the marked area for the JB weld to be effective. The main mission should be to have bare metal; make it new.
Sanding is also essential in getting rid of road grimness for your gas tank area. Remember, a rough surface allows the epoxy to work properly compared to a smooth metal. The epoxy will have something to stick onto.
Step 4: Apply the cleaning alcohol
There are several cleaning substances that you can opt for when it comes to cleaning metals. For our case, rubbing alcohol can do wonders to the sanded surface.
Wipe the cleaned area with a piece of dry cloth and give it some minutes to fully dry. Sometimes, you are even advised to repeat the alcohol application until the area is thoroughly cleaned.
Step 5: Cutting a reasonable amount of SteelStick
The SteelStick amount to cut should depend on the area you want to cover. It is not necessarily to cover the entire sanded surface, but at least seal the leak and a good space around it.
Generally, the coverage should go up to an inch or two inches to establish a robust bond. The most important thing is to ensure the hole is completely sealed.
Step 6: Mixing the SteelStick

After chopping your desired JB weld SteelStick amount, the next action will be to mix it.
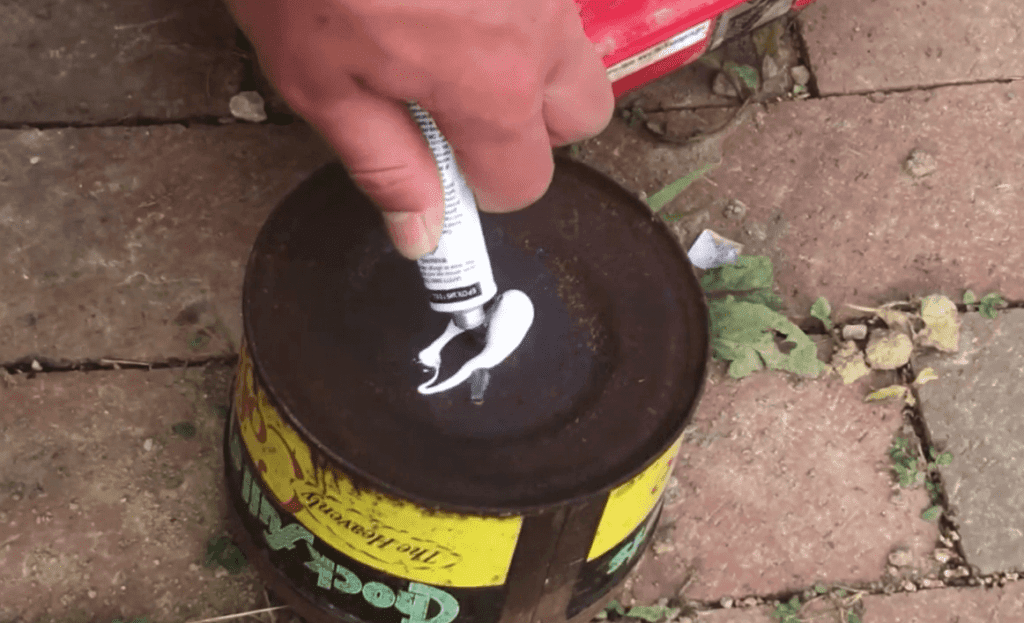
If you are keen, the substance has varying colors. Therefore, you should knead it until you achieve even color. You are likely to attain dark gray color after a thorough mixing process.
Under this step, you can use your fingers or a stir stick to mix the substance. Don’t hurry the mixing process, do it slowly and thoroughly; it will yield better results.
Step 7: Re-cleaning the area
With your mixed epoxy, it is now time to apply it on the problematic area. But, before the application, you are advised to clean the area again by wiping it dry.
Point the putty nozzle in the middle of the hole and then press it to release the epoxy. The epoxy will only work on a clean and dry surface, meaning that you don’t have to fake things.
Step 8: Smearing the putty
There is nothing complicated under this step since it involves smearing the putty flat on the gas tank. The main mission is always to ensure the hole is completely sealed.
Besides, you are advised to achieve a smooth surface after the smearing process. You can therefore use something like a utility knife or a flat scraper.
Step 9: Curing the treated area
Up to this step, leave the curing process to nature. The best thing you can do is to leave it for not less than an hour before starting your engine.
Curing is accompanied with hardening which helps the substance to develop an outstanding bond on the gas tank surface. Remember, giving it more time can even yield better results.
Step 10: Testing the artwork
The last action to confirm the success of your efforts is to start your engine. The essence of this step is simply to start the engine and observe the condition of the gas tank. With all the above steps followed carefully, there will be no leakage anymore.
Count yourself lucky if the hole is sealed, but if not, consider repeating the entire process or re-cleaning the surface for fresh putty.
You might be interested to read also our another article of:
Fixing A Cracked Block With JB Weld
FAQs:
- Can I patch a hole in my gas tank?
Yes, we have some reliable kits like Versachem Heavy Duty Fuel Tank Repair that can cost you around 20 minutes.
The approach can work incredibly on diesel and gasoline fuel tank leakage. You can therefore use it to seal pinholes, hairline cracks, holes, and rust-outs. The substance is resistant to diesel, kerosene, gasoline, and water; therefore, no welding and draining is required.
- What should I use to seal my gas tank?
Some experts recommend using epoxy fiberglass resin. You are simply required to pour the substance on the hole and start smearing it into the areas around. Ensure you coat the place completely and give it enough time to dry.
- I need the strongest JB weld. What is it?
JB original is famous for providing robust and long-lasting repairs. More so, you can use the item on various surfaces to establish a stronger bond. The Original is not only durable, but also dependable and features steel reinforcement.
- Which one is stronger between the welding and JB weld?
“The Original Cold Weld”, which is JB weld, will only work best as a substitute for torch welding (traditional). The approach is meant to be enormously effective even in the demanding environments. However, you need to understand that this is a two-component epoxy that utilizes chemistry to develop the strongest bond.
Final words
Fixing a gas tank has been made easier with the help of our article and some simple tools and materials. JB welding is famous for establishing robust bonds when it comes in contact with a clean, treated, and dry surface.
In this world, finding someone to share useful information with might be hard to find, our love is beyond that. Consider going through our report and fixing a leaky gas tank using JB weld.
