
Welding, like other processes, is prone to human mistakes occasionally. Incorrect method, variables, or machine configurations are frequently the cause of miller syncrowave 210 weld problems. When a miller syncrowave 210 weld failure occurs, welders must have the skills to correct the problem as quickly as feasible.
Despite the miller syncrowave 210 having issues, there are several ways to fix the problems. First and foremost, it is critical to understand the numerous issues that a welding machine may encounter; this allows one to inspect the various components of the unit and correct the problem. Also, follow the manufacturer’s instructions when carrying out the troubleshooting process.
Understanding troubleshooting steps methods will be quite beneficial to the welder, as it will save them a lot of time and money spent on parts suppliers. Here are some of the most common issues that a miller syncrowave welding machine confronts and the causes and remedies. Also, the article shows FAQs concerning the miller syncrowave 210.
Contents
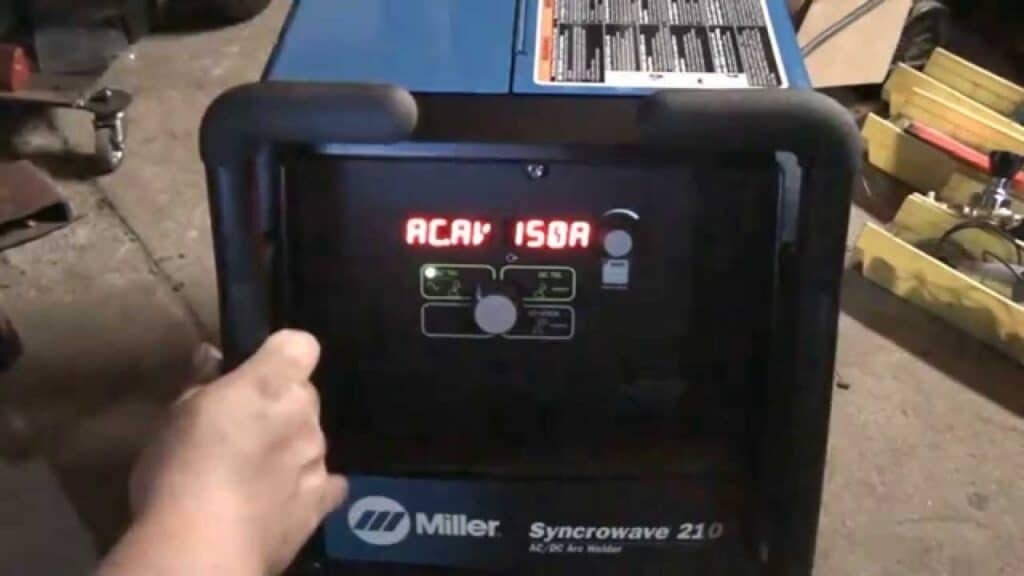
Miller syncrowave 210 problems and how to fix them

1. High splatter
High spatter results from several factors in the MIG machining operation when using the miller syncrowave 210, including:
1. There isn’t enough shielding gas.
2. polluted or rusted basic elements
3. There isn’t enough shielding gas.
4. Weld wire that is polluted or rusted, as well as dirty base materials.
5. Too high a voltage or too fast a transit speed.
6. Excessive wire protrusion.
To prevent massive spatter deposition, ensure sufficient shielding gas flow, properly clean base elements, decrease the weld relevant features, and use a smaller stick out. To avoid spatter from forming when welding self-shielded flux-cored cables, be sure to employ direct polarization and a drag method.
Voltage drop can cause an excessive quantity of spatter when utilizing metal-cored wires. If you notice a build-up of spatter, raise the voltage as desired. High spatter can also result from incorrect touch tip thickness, a deteriorated contact tip, or the incorrect contact tip-to-nozzle recess.
2. Insufficient fusion and a frigid lap

Cold lap and absence of fusion are words that many welders frequently use. They are, however, remarkably different and can occur separately or in combination in welding.
The electrode fails to fuse entirely to the weld zone or the previous welded joint, leading to a lack of fusion. It primarily results from a wrong welding gun direction or speed.
Keep a 0 to 15-degree welding gun angle during welding and keep the arc on the leading edge of the weld pool to avoid this problem. To maintain proper arc position, increase the travel speed. The deficiency of fusion is also a result of low heat in the weld.
Raising voltage levels or wire feed rates can help with this. Cold lap can also result from inappropriate travel speeds, which leads the weld to refill and effectively overlap on the toes of the weld. You can avoid such difficulty by raising travel speed.
3. Welding porousness
One of the most prevalent miller’s syncrowave 210 flaws is porosity when gas becomes stuck in the welding rod. One of the most common causes is insufficient shielding gas coverage, which you can solve in several ways. First, make sure there’s enough gas flowing through the regulator or flow meter, and adjust as needed.
Inspect for probable leakage in the gas lines and welding gun, and close off the welding area if drafts are present. It’s also vital to utilize a large enough nozzle to shield the weld pool with gas adequately, maintain the nozzle clean and free of spatter, and observe the maker’s suggestion for an appropriate contact tip to ensure proper shielding gas coverage.
Porosity can also be a result of:
a) The foundation substance is filthy.
b) High angle of the gun.
c) Stretching the wire too far away from the nozzle is a bad idea. A decent rule of thumb is to not prolong the wire beyond the nozzle by more than 2 inches.
d) Shielding gas canisters that are wet. You must replace defective cylinders right away.
4. The miller syncrowave weld has drying shrinkage
If the cable is filthy and rusted, or if the droplet is excessively small and curved, shrinkage fractures may appear on the weld. To avoid this situation, clean the welding wire thoroughly, and the welding region is free from dust and corrosion. The beads must be of a suitable size.
5. Weld fractures
Because of rapid welding speeds or very minimal power and more arc voltage, certain lateral fractures may appear on the miller syncrowave welding machine. To avoid sideways fracture, maintain the welding speed consistent and resist welding too quickly, as this might result in lateral cracking. Also, check the machine more often for any cracks or fractures.
6. A fault machine cable
The cable may be deteriorated and have torn and worn parts after a lengthy period of use. You must replace a faulty miller syncrowave welding machine cable as quickly as possible, as it can bring a slew of difficulties for the machine and have a significant impact on the welding process. It is vital to inspect the cables or any signs of problems from period to period.
7. The miller syncrowave 210 welding equipment fails to turn on
It is possible that the device will not turn off even if you press the switch until the power supply is disconnected. When the line switch is burnt out or fails manually, this happens.
You must troubleshoot the welder’s line switch and connection if the button is worn out. Also, ensure there is an uninterrupted power supply in case there is a power blackout.
8. Incorrect wire feeding
The explanation for this is a worn-out drive roller if the wire feeding is incorrect when using the miller syncrowave 210 welding machine. When a driving roller is worn out, the wire feed is affected and may slip. If this problem arises, examine the welding machine’s liner for any dust or organic debris.
To get the drive roller to work correctly again with adequate wire feeding, clean the appliance thoroughly.
9. Low welding
When the tip within the welding gun wears out, the power supplied by the welding machine is insufficiently applied, resulting in additional work for the welder because the welding isn’t completed effectively. If this issue occurs, replace the tip inside the welding gun as soon as possible, as this may cause additional problems such as a poor wire. Change the tip right away to avoid more issues.
You might be interested to read also our another article of: Miller Dynasty Vs. Syncrowave
Frequently asked questions:
- What can I consider when buying miller syncrowave 210?
Consider the following factors before buying miller syncrowave 210;
- Take into account any prospects that your welder may offer, which may necessitate more amperage. You don’t want to spend a lot of money on something that won’t meet your demands a year from now.
- Consider the cost and the place to buy the machine to get a genuine product.
Conclusion
Yes, the miller syncrowave users may experience issues. The issues include; polarity, low welding, incorrect wire feeding, among others. If you experience such problems, first, check for any possible cause.
Fix the issue according to its cause and read the article before seeking help. Further, follow the manufacturer’s instructions on how to fix the welding machine.
In addition to all of the tactics for maintaining and mending, welding equipment maintenance is critical. It’s important to remember the following: keep the miller syncrowave machine clean to prevent rust and corrosion. Also, look for any deterioration to the device’s elements.
Furthermore, according to the instructions, the wires and other supplementary equipment used with the welding machine must have the necessary duty cycle size and be compatible with the device. Finally, avoid overburdening the device and never surpass the welding depth restriction.

